On this page:
- Viewing Events in Admin
- Adding an Event – Field Descriptions
- Updating Events Status: Cancel or Postpone
Viewing Events
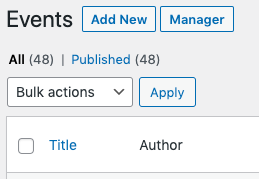 Login to your Dashboard and click on Events in the left sidebar.
- The List view will allow you to see which events are attached to a Series, which are part of a Recurring set of events, the start and end dates of a set of Recurring events, and more.
- The Manager view allows you to see a full month of events with options to filter.
Adding an Event – Field Descriptions
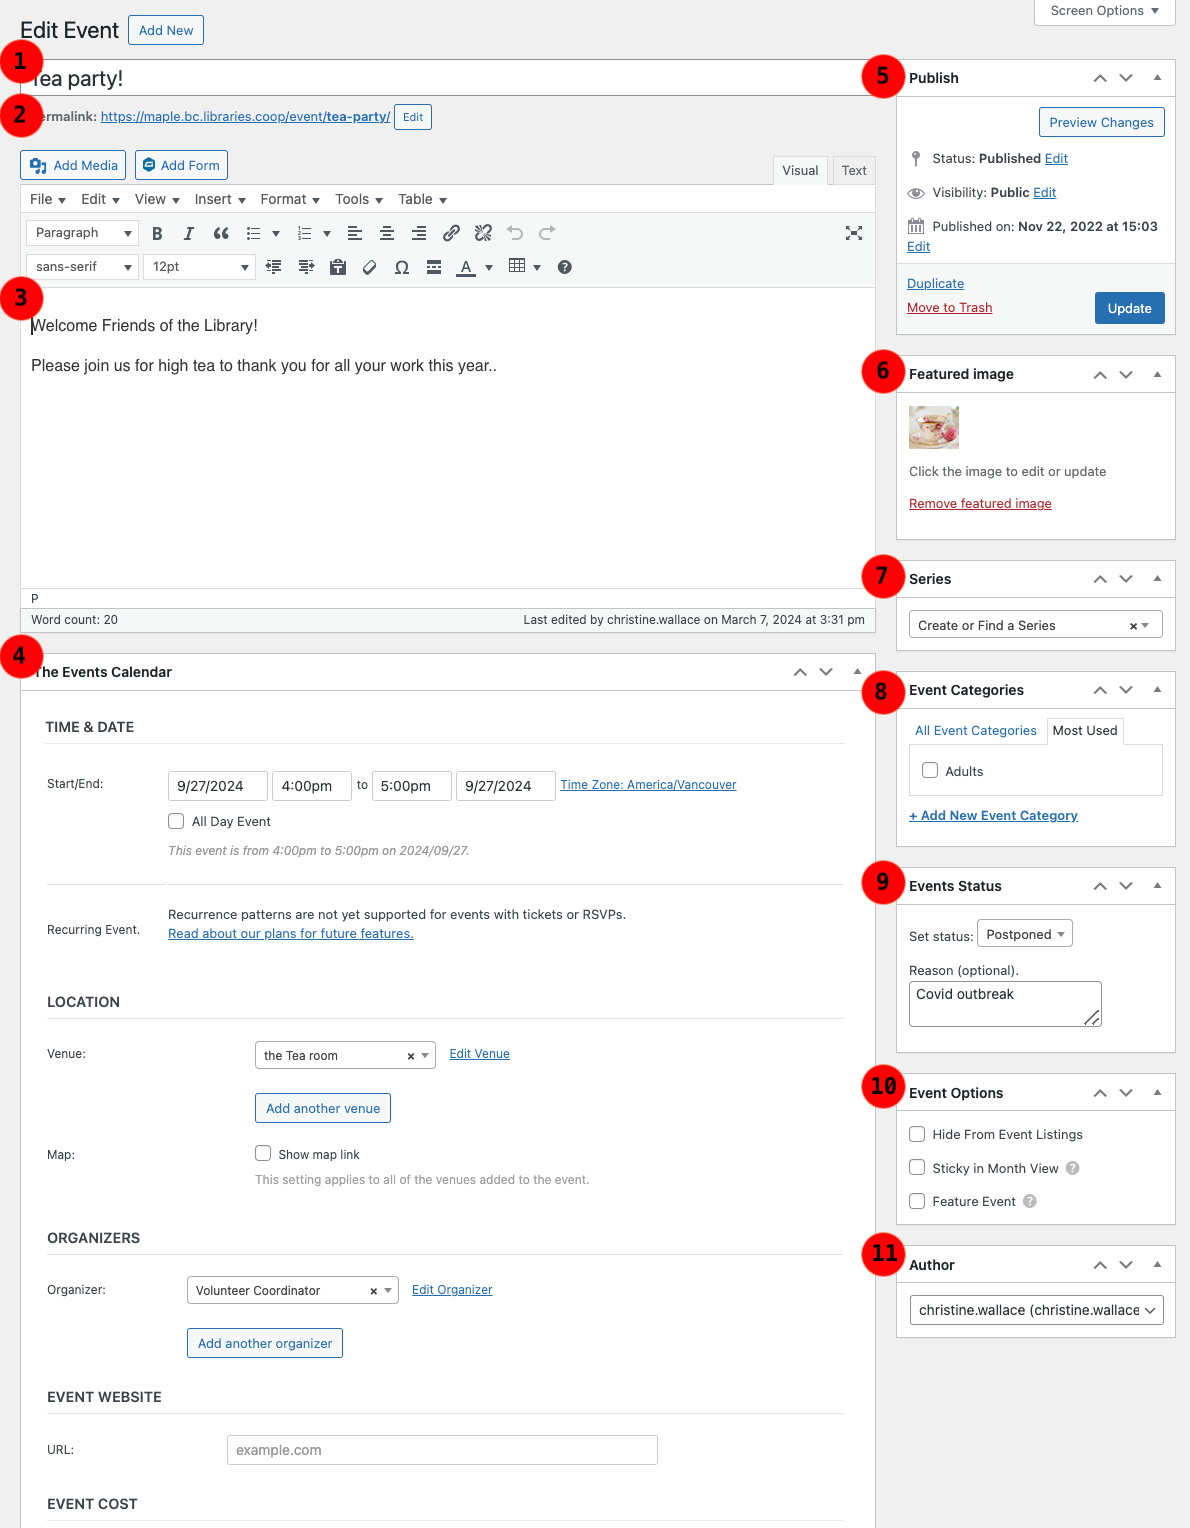
Click on Add New at top of page–you’ll be directed to an Add New Event input page. You can organize this view any way you like, dragging field boxes around. If there is a box missing, or a box you don’t use (such as Tags), you can adjust the view on this page by clicking on the Screen Options at the top of the page (see the top right in the image below).
The following setup is a recommended view:
-
- Title: Enter a descriptive but short Title – this will be the main content when displayed in list form.
- Permalink: This is the URL for the page. The end part will auto-populate based on the Title entered. If it is a long title you may want to make this shorter. However, if there is a link somewhere on the website to this page – the link will break if changed!
- Description: Enter an event summary here.
- The Events Calendar: Enter the details
- Time & Date
- Recurring set of events – optional setting to schedule recurring events
- Location (Optional) – choose from the list or enter a new location here
- Organizers (Optional) – choose from the list or enter a new organizer here
- Event Website (Optional) – where an external website can be listed related to the event.
- Publish: Same as Page publishing, can be set to Pending Review or Draft
- Featured Image: Most libraries use a square across all social media and this can be set as a featured image. This is how you will add your images to the events, so that the thumbnail of the image will show up in the various views. Best practice: Do not create text-heavy images as this will not be readable when in thumbnail form, and it is also not accessible for screen readers. Create icon-like images instead.
- Series: If you are creating a recurring set of events (see point 4 above), this will auto-populate with the Title from this page – however, you may want to select a different Series to add this single or set of events to, using the drop-down.
- Event Categories: Categories are used for filtering broad groups of events, such as Kids, Adults, Holiday (general or closure events). If your site makes use of filtering for different audiences, be sure to capture that here!
- Events Status: Default is Scheduled, but if you need to set the event to Postponed or Canceled, your event will include this in red font in the list views and on the events page itself. See below.
- Event Options: Applying “Feature Event” here means that your event will be flagged as a Feature in the list views, to highlight it from regular series.
- Author: This is set to whoever created the event, but can be changed to another site manager here.
Updating Events Status: Cancel or Postpone
If you need to postpone or cancel a meeting–don’t delete your event as this won’t let your audience know about the change!
- Use the Events Status feature to mark the Event listing as Cancelled or Postponed. This will appear on the front page short list, and all other views.
- NOTE: There is a slight delay for this to appear on the front page widget.
- If you have a change of Venue, simply add that to the title, eg. Moved Online – Mother Goose Storytime