Creating a Slide
- Dimensions: 960 x 288 pixels
- Remember that there are navigational arrows at the left and right sides when creating your design.
- The goal of the slide is to capture attention and redirect a patron to another page for detailed information where the text can be read by a screen reader, or enlarged or have a contrast layer applied for those with low vision.
- Consider that slides will be very small on a mobile device, and any text should be large and in high contrast with the background.
Alt text and notes:
- Sample alt text would be: Novelist – find your next read, click to the page about the Novelist service.
- Remember to add “slide” to the Media tag area when you upload your custom slide.
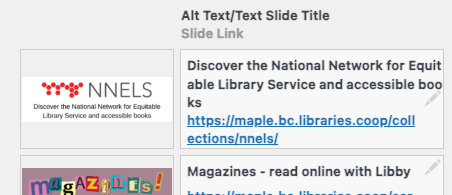
- Enter alt text in the Slideshow Manager area:
Text slide
- From the Slideshow Manager, scroll down to the section.
- Enter your Headline, which is the title of your slide. It will appear in large font on the slide.
- Enter the Message Text. This should be no more than 1 or 2 sentences as a slide is only visible for up to 5 seconds.
- Click .
- Click .
- Once the text slide is saved, you can edit it and add a link to one of your pages or to an external website.
Adding a Slide
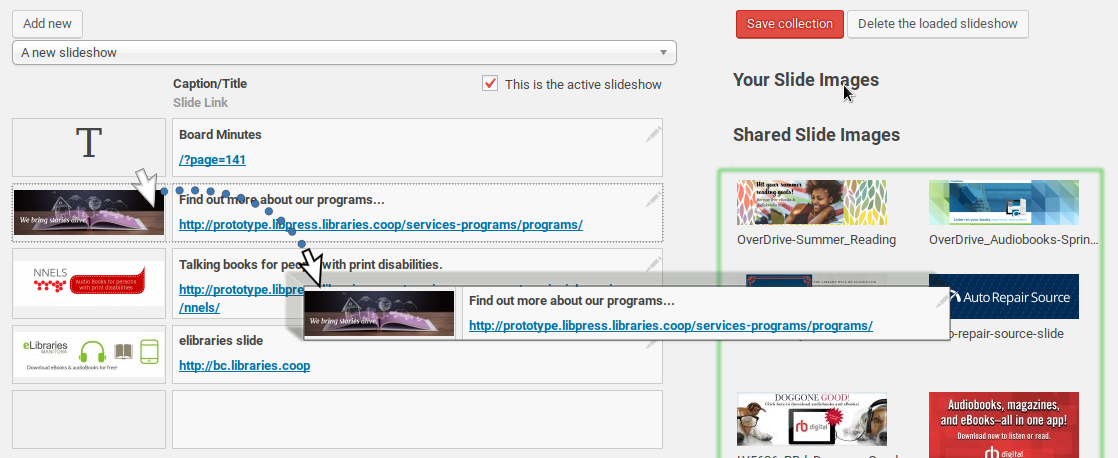
Note that there are shared slides available in your Slideshow admin area, if you look below the slides that your library uploaded for its own use. These have been uploaded by the LibPress Coordinator, and some are specific to either BC or Manitoba. You can hover over a slide to force a magnified popup of the image so you can read it.
Add to your Media area of LibPress:
- Create the slide image first (ensure that the slide is 960px wide by 288px high). To ensure a mobile-friendly view, use a large and clear font for your text.
- Upload the slide to your Media, and make sure to add a tag of “slide”

Add to the Slideshow set
- Within the Slideshow Manager, click on the image you wish to add from either or from .
- Drag the image to the slideshow list and drop it in that region.
- Click
-
 A grey pen icon appears next to each slide. Click and add your Text Slide Title which also acts as your alt text – make sure that your alt text adequately describes the information in your slide.
 - Click the pen icon again or Save Collection. This saves your slide information.
- Now add a link to more information, if a patron clicks on the slide – ideally this would not be an external link as this is confusing; best to have an internal library page that explains the service and then an external link on that page.
- Click . It is good to use Save Collection after each slide edit and not wait until you have edited all your slides.
Delete a Slide
- In the current slideshow, click and drag the slide you want to delete.
- Grab the slide image and drag it to either the or box. The box will glow green when you hover over it. Drop the slide onto the box.
- Click the button